Buildroot 常见编译错误记录
openwrt 编译错误
you should not run configure as root (set FORCE_UNSAFE_CONFIGURE=1 in environment to bypass this check)
解决方法:
1 | export FORCE_UNSAFE_CONFIGURE=1 |
切换 gcc 版本
1 | sudo update-alternatives --install /usr/bin/gcc gcc /usr/bin/gcc-9 20 --slave /usr/bin/g++ g++ /usr/bin/g++-9 |
buildroot 报错:
c-stack.c:55:26: error: missing binary operator before token
1 | 将 buildroot 的 host-m4 版本升级一下就可以使用 |
修改后:m4.mk:
1 | ################################################################################ |
m4.hash:
1 | # Locally calculated after checking pgp signature |
根文件系统编译报错
libfakeroot.c:99:40: error: ‘_STAT_VER 问题解决
由于 fakeroot 别人修复了一个 bug,把_STATA_VER 删掉了,重新打上最新的补丁即可。
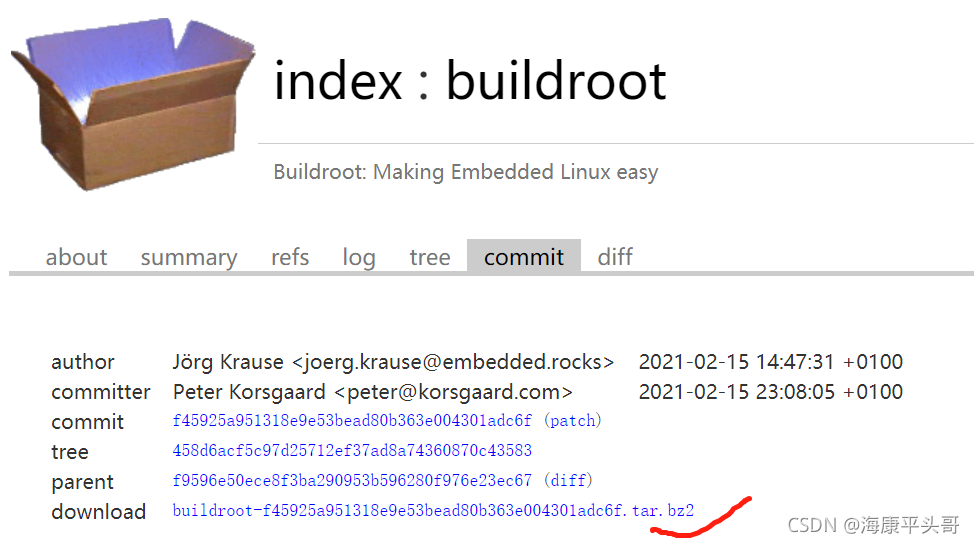
下载最新补丁
访问这个链接
buildroot - Buildroot: Making Embedded Linux easy

解压进入后 /package/fakeroot/下,备份原来补丁,并替换成现在的,原来补丁目录
usr/bin/ld: scripts/dtc/dtc-parser.tab.o:(.bss+0x10): multiple definition of ‘yylloc‘; scripts/dtc/d
找到出错的源文件并做如下修改:
1 | ‘YYLTYPE yylloc’ and change it to ‘extern YYLTYPE yylloc’ |
/usr/bin/ld: libsim.a(maverick.o):(.bss+0x60): multiple definition of `DSPregs';libsim.a(wrapper.o):(.bss+0x60): first defined here
问题已经解决,参考: https://gnutoolchain-gerrit.osci.io/r/c/binutils-gdb/%2b/726
https://gnutoolchain-gerrit.osci.io/r/c/binutils-gdb/+/726
添加 patch 后重新编译模块
解决 Python3 No module named '_sqlite3'错误
安装 sqlite3
1 | 下载安装包:wget <https://www.sqlite.org/2018/sqlite-autoconf-3240000.tar.gz> |
重新安装 python3
1 | wget <https://www.python.org/ftp/python/3.8.8/Python-3.8.8.tgz> |
1 | ./configure --enable-loadable-sqlite-extensions |
切换 python3 版本
1 | rm /usr/bin/python |
warning: setlocale: LC_ALL: cannot change locale (en_US)
1 | apt-get clean && apt-get update && apt-get install -y locales |
这个时候在 Configuring locales(配置区域)下方就看到 en_US 了,要注意的是,只需要有 en_US 就行了,并不需要将默认设置改成 en_US;按键盘↓箭头将光标移动到 en_US.UTF-8 上,然后按 TAB 键将光标移动到 Ok 按钮上,回车。
执行 locale -a 命令查看已经配置的区域。
切换 python 版本
1 | $ whereis python |
repo 更新代码是报错:
ModuleNotFoundError: No module named ‘formatter‘**
https://gerrit-review.googlesource.com/c/git-repo/+/303282